Tuesday, March 29, 2011

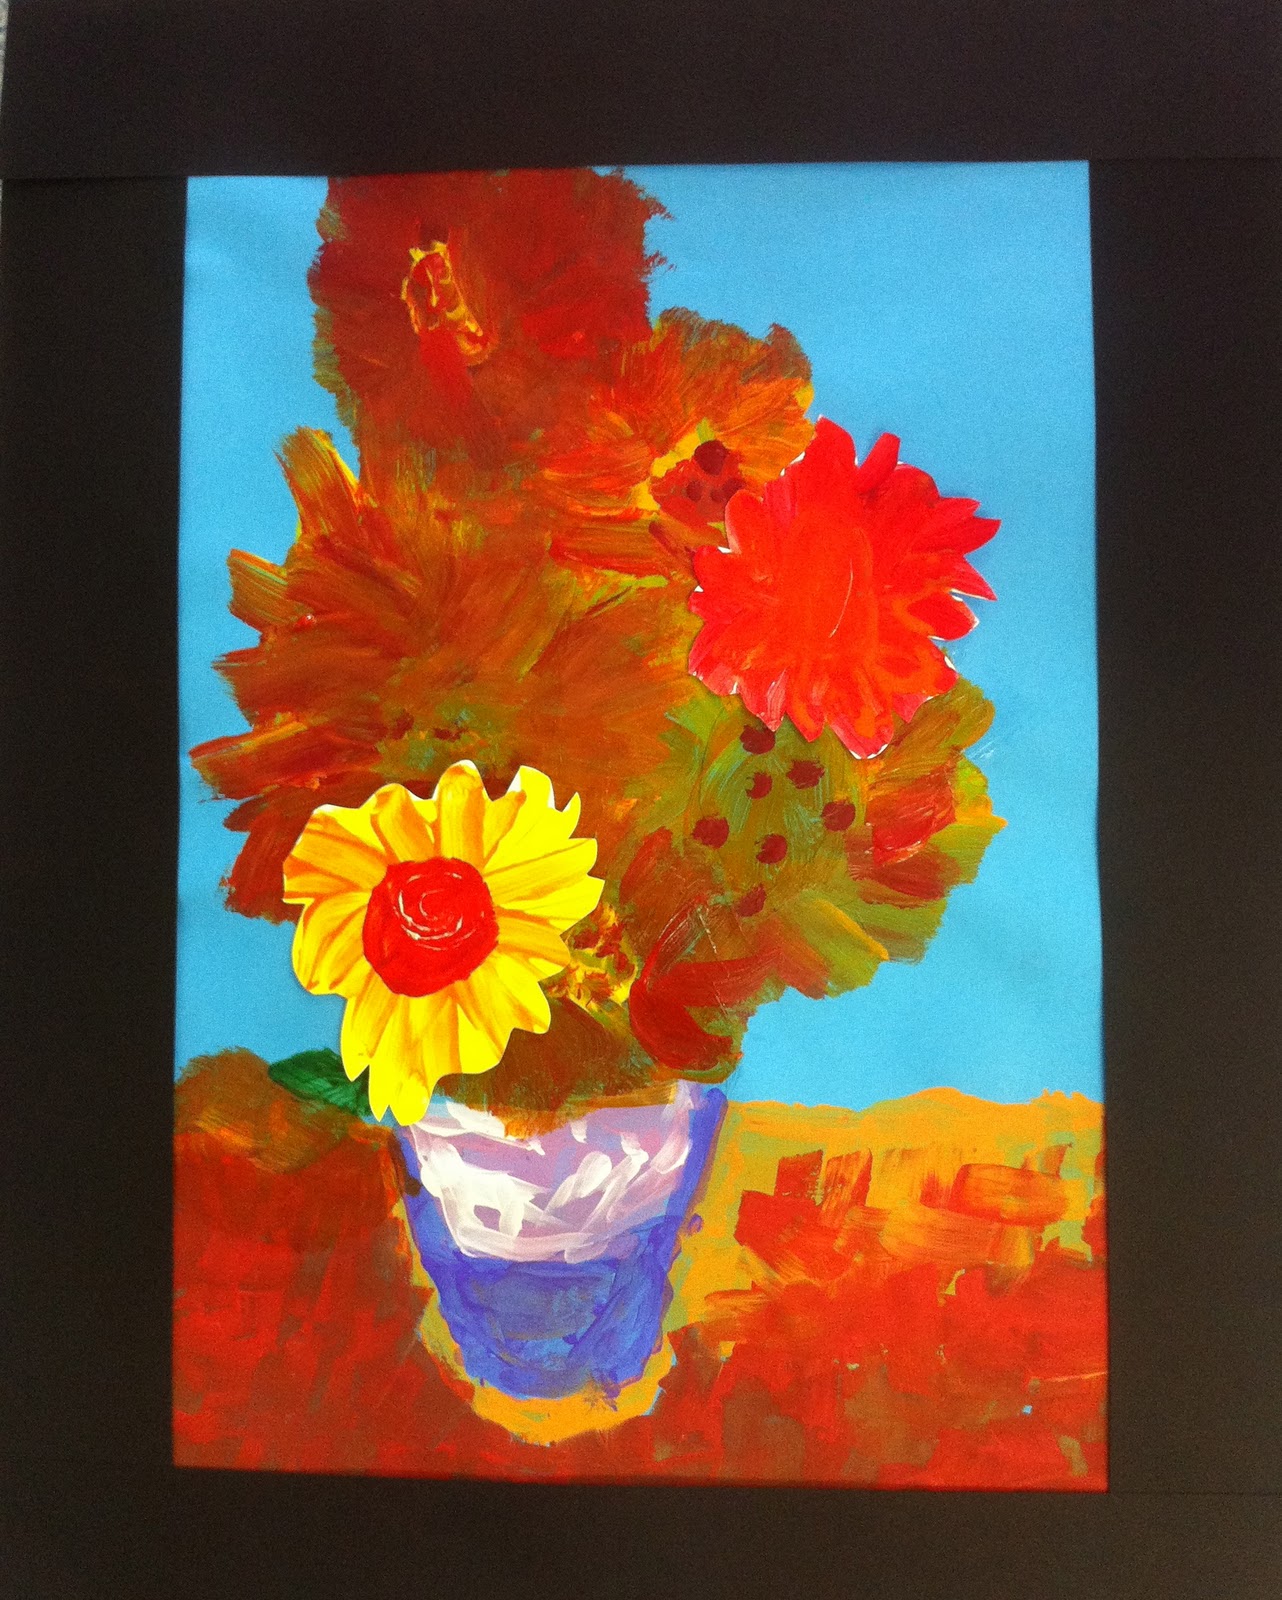
Van Gogh Sunflowers- Year 2

Aren't these Year 2 paintings inspired by Vincent Van Gogh simply divine? This is one of my all time favourite painting projects is great for 7/8 year olds.  Firstly we look at how Van Gogh word with paint. We view paintings created by Vincent (great You Tube clips) and the composition that he used in the many aspects of his Sunflowers series. 
 We lightly sketch the position of the sunflowers- with circles only and the line that creates the table and the vase.
The Children love using big blobs of paint top create some texture with the paint.  We added impasto gel to the acrylic paint to ensure that the paint was applied thickly.  If you don't have Impasto gel, you can use PVA.  Another strategy is to use Impasto after the painting is done to add some 'shine' to the painting. Remember to start in the centre first so as to create a radiating pattern.  Then a thick blob of paint for the centre then some dots for the seeds- just like Vincent.  Another good tip is to paint on colour cover paper so that the children don't have to paint the background.
The other key to this piece is to paint 2 to 3 extra sunflowers, cut them out and add them to the piece later once framed so that they can be glued overlapping the frame- just give that second dimension.
Aren't they breathtaking!

Friday, September 24, 2010

Year 2 Self Portraits

This piece was our first piece of work in year 2 this year.  The children went through lessons on how to  draw faces.  Specifically the division of the face to gain a more 'lifelike' proportion. 
Next the children coloured the face with wax crayons and then cut the portrait out.
On a separate piece of cartridge paper the children then pooled water colour paints on the page allowing the colours to mix if desired. 
Then with more cartridge- rip pieces and place randomly on the pooled paint to allow the paint to soak up the paint and push it down twith the paintbrush and even cover the ripped pieces with an opposing colour.
Set asside to dry.  Then take of the ripped peices of cartridge and glue them onto the background in another part of the background.  This adds depth to the piece.
Once the background is completed, glue the self portrait onto the background.  Frame and display.  The children really loved doing this and they looked wonderful hung in the classrooms.

Friday, September 17, 2010

Klimt Inspirations

This is one of my all time favourite pieces that I have done with a class.  I adore Klimt and came up with this idea that involves:
  1. Splodging a watered down golden/brown acrylic paint for the background.
  2. On another piece of paper paint flowers using three different colours using water colours then paint green background, cut the piece of paper to form a wavy top.
  3. Take a photo of the child in a 'Klimt' position- either sleeping or a calm face.
  4. Using a laser colour printer, print the photo's and glue them onto a piece of A3 cartridge.
  5. Sketch the outline shape of the hood and cloak. Here is where you talk alot about proportion, pattern and shape.
  6. Show the children a variety of painting techniques including, scraffido (scratching the paint with a toothpick or end of the paintbrush), collage- layering pre painted papers and pointillism (dots).
  7. Ask the children to include patterns that Klimt used eg. circles/ ovals, rectangles, eyes, flowers and swirls.
  8. Paint all the sections with a background colour first, then add the different techniques in each, being mindful not to have the same two beside each other.
  9. Ones all complete, allow the children to choose if they would like to add black/gold lines between their sections- adding dots on the lines can be quite effective as well as in the hair.
  10. Cut out the self portrait and glue onto the background of gold splodging and water coloured flowers.  Add flowers and tassels in the hair or side of the cloak using gold paper and premade painted paper.
  11. And there you have it- Klimt Inspirations
  12.